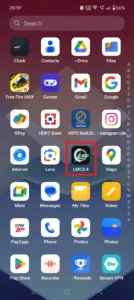
Have you ever watched those amazing time-lapse videos of busy city streets, a sunset, or moving clouds & wondered if you can also make videos like these? If you agree with me, I am telling you buddy making these types of videos is no more complicated in these days. It even became now simpler than ever with one of the best camera applications LMC 8.4.
You can capture high-quality time-lapse videos directly from your phone, regardless of your level of videography skill and here you don’t need any expensive professional cameras like DSLR, GoPro, or SLR. Today in this article, I will show you how to use the LMC 8.4 to create the ideal time-lapse video.
Also, I can assure you that after reading this article, you don’t need to visit any other website or look for a YouTube video because I am giving all the details related to this topic here. So, let’s jump into the tutorial without wasting any more time.
What is LMC 8.4 APK?
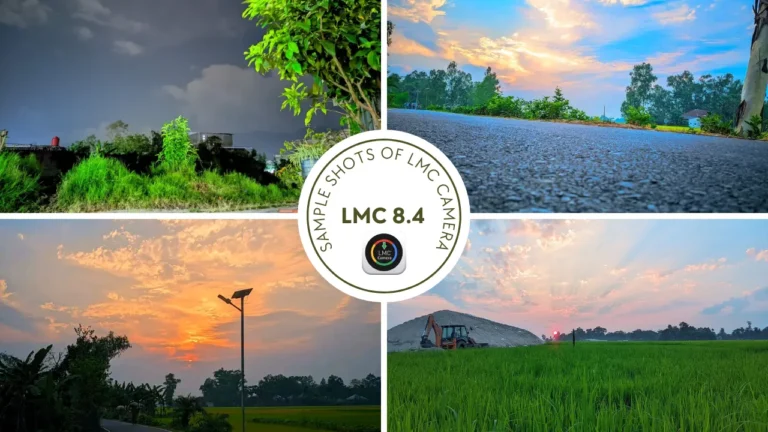
LMC 8.4 is a popular third-party camera app that provides you with more control over your phone’s camera settings than the stock camera app. It was actually made to provide the features of the Google camera that you generally get on Google Pixel devices & for that reason, it is also known as GCam Mod. This application has advanced features such as manual focus, ISO adjustment, and custom exposure settings that are impossible to get in a regular stock camera.
I have personally used it and found out that the ability to shoot high-quality time-lapse videos is one of the attractive features of this application. Unlike many built-in camera applications, it gives you more freedom and control over the recording process which allows you to adjust each aspect.
A Short Introduction to Time-Lapse Videos

The time-lapse technique is mainly used for shooting movies where frames are captured at a much lower rate than normal. When these types of videos are played, they tend to time-advance at a faster-than-normal speed. It seems like life goes by so fast like hours of clouds drifting by, traffic flowing, flowers blooming, or the sun setting, appear to happen really fast.
Imagine if you took a picture every few seconds, minutes, or hours of something like clouds moving in the sky. After a while, when you combine all those pictures and play them quickly, it looks like the clouds are zooming across the sky! That’s what time-lapse actually does. It speeds up the time needed to see changes that usually take a long time.
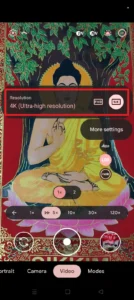
Adjust Settings for Perfect Time-Lapse Recording
In the field of photography, whenever we go to take a short or record a perfect video, we have to adjust various settings and there is no exception in the case of time-lapse video recording. So let’s see what settings we need to adjust properly first.
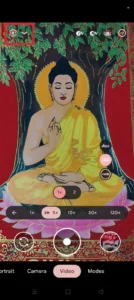
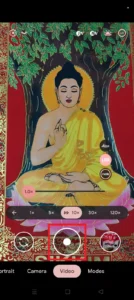
Start Recording Time-Lapse Video using LMC 8.4
So guys, I hope I have made you understand about time-lapse video and some things you need to keep in mind before shooting, I have mentioned step by step way in the above section. Now we will see how we can easily record any time video with the LMC camera.
Right Subject for Time-Lapse Video
Now dear you need to know that all subjects are not ideal for time-lapse videos. The best ones usually are slow, continuous movements. You can take a look at the below section to find out which will be suitable.
Avoid Common Mistakes
You may think that recording a time-lapse video is so simple that I showed the process in the above section. But, don’t take it casually because there are some mistakes you need to avoid when you are going to record a video. Check the details I provided in the below section.
Pro Tips for Time-Lapse Recording
If you want to be a pro in the field of video recording journey and want to know more advanced tips then you can look at the below points I suggested.
Conclusion
So guys I hope you have read the whole article and also learned how to record a perfect time-lapse video step by step. In addition, I have discussed in detail what precautions we should take for such video recording. So I request that if you haven’t read the whole article then definitely read it. And from there, I guarantee you’ll learn a lot that watching a YouTube video won’t tell you.
If you have any queries regarding this article, you can comment below or mail me from the contact page.


