
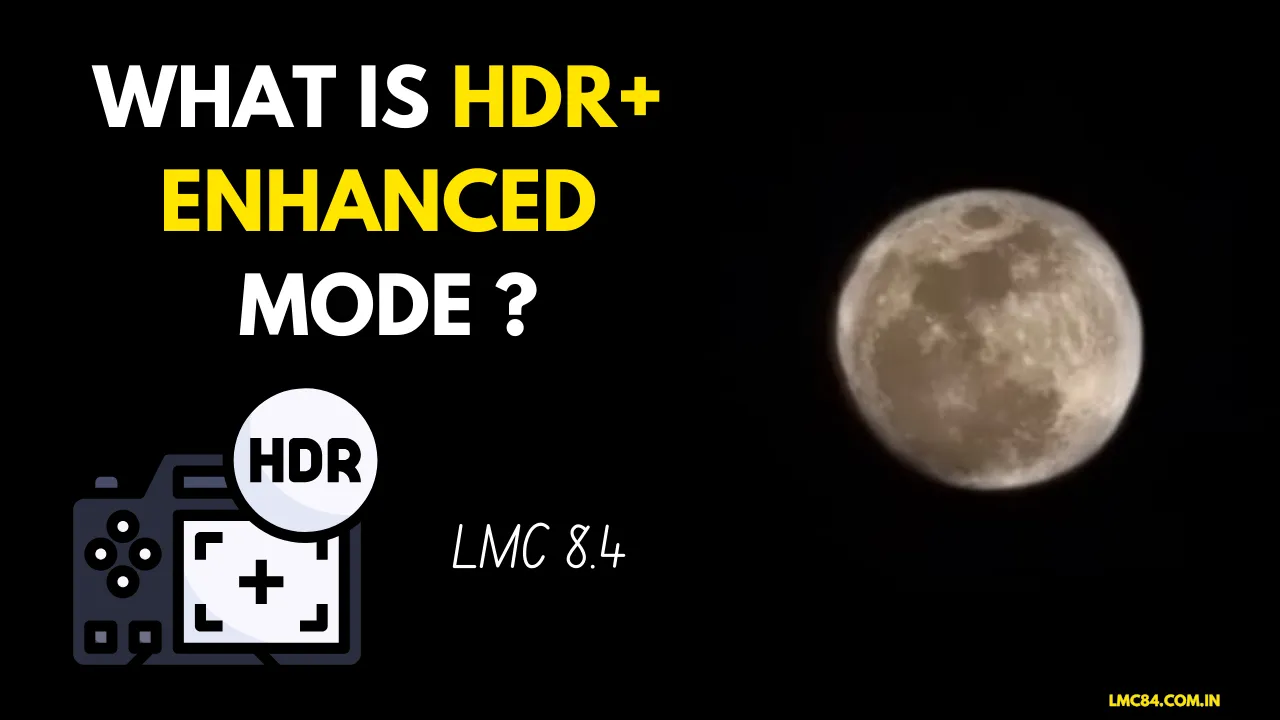
HDR+ Enhanced Mode in the LMC 8.4 app is the upgraded version of the standard HDR (High Dynamic Range) mode. It’s mainly used to capture photos with more details, better colors, and improved clarity, especially in low-light conditions or tricky lighting. Now, you might be wondering, How does it work? Don’t worry, let me explain it in simple steps.
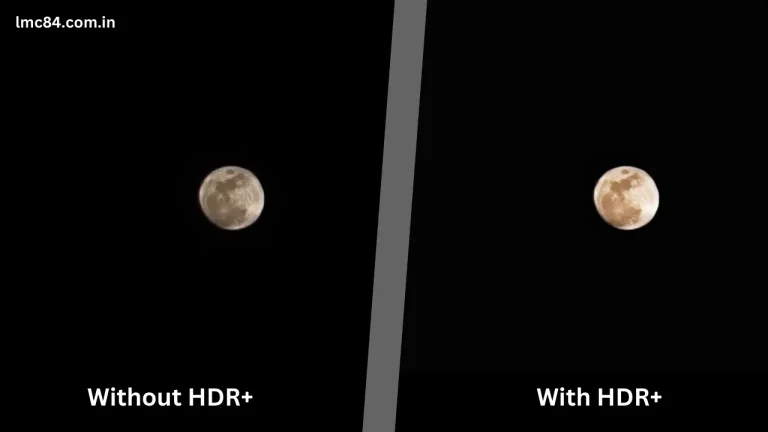
When you use this mode, your camera works in a special way. First, it automatically slows down the shutter speed (that’s when the camera clicks a photo). Then, in just a fraction of a second, it captures multiple images with different brightness levels (exposures) and color settings (saturations). After that, it combines all these images into one single photo, picking the best parts from each. The result? A super clear, balanced, and vibrant photo that looks amazing!
Key Benefits of Using This Mode
Here is a list of benefits you will gain by capturing images in this mode. Make sure to read the steps carefully, otherwise, you may not fully understand them.
How to Properly Use This Mode
Well, although it’s very easy to use this mode, it’s not available on all devices. But don’t worry! You can still access this advanced feature by downloading and using the popular GCam app ‘LMC 8.4’ for free.
Below, I’m going to share the step-by-step process of using this mode properly. Just follow the steps carefully, and you’ll be all set!
Is HDR+ Enhanced Mode Helpful? My Personal Experience
As a professional mobile photographer, I use this mode frequently because it gives my photos a magical touch. I won’t hesitate to say this is the best feature of any camera app I’ve ever used.
However, being a professional, I’ve learned how to use this mode effectively. If you’re a beginner and haven’t used this mode before, don’t worry, follow the practical tips I’ll share below.
One more thing: All these tips are self-taught, gathered through years of experience. So, you’ll only find this kind of advice in an article written by an experienced photographer, not everywhere.
Tips:
No. 1 – Use a Steady Hand or Tripod: Since HDR+ Enhanced Mode takes multiple shots, even slight movements can blur the final image. To avoid this:
No. 2 – Shoot in High-Contrast Scenes: HDR+ Enhanced Mode shines in challenging lighting conditions. Try it in:
No 3. – Avoid Moving Subjects: If you use the HDR+ enhanced mode when the object is moving, for example, a car or flying birds, you will get a blurry result. This is because this mode captures multiple images and merges them to give you the result. But for moving subjects, that is not possible. So, this mode will work perfectly under these conditions.
No 4. – Practice, Practice, Practice: We all know that practice is the key, so the more you practice more you improve and manage to capture awesome images.
Conclusion
HDR+ Enhanced Mode is like a superpower for your camera. It makes your photos look professional without any extra effort. So, next time you’re clicking a picture, especially in tricky lighting, don’t forget to use this amazing feature. If you have any difficulty understanding anything or find using this feature challenging, please don’t hesitate to contact me. My team and I are always here to help you. Till then, Happy Clicking!